
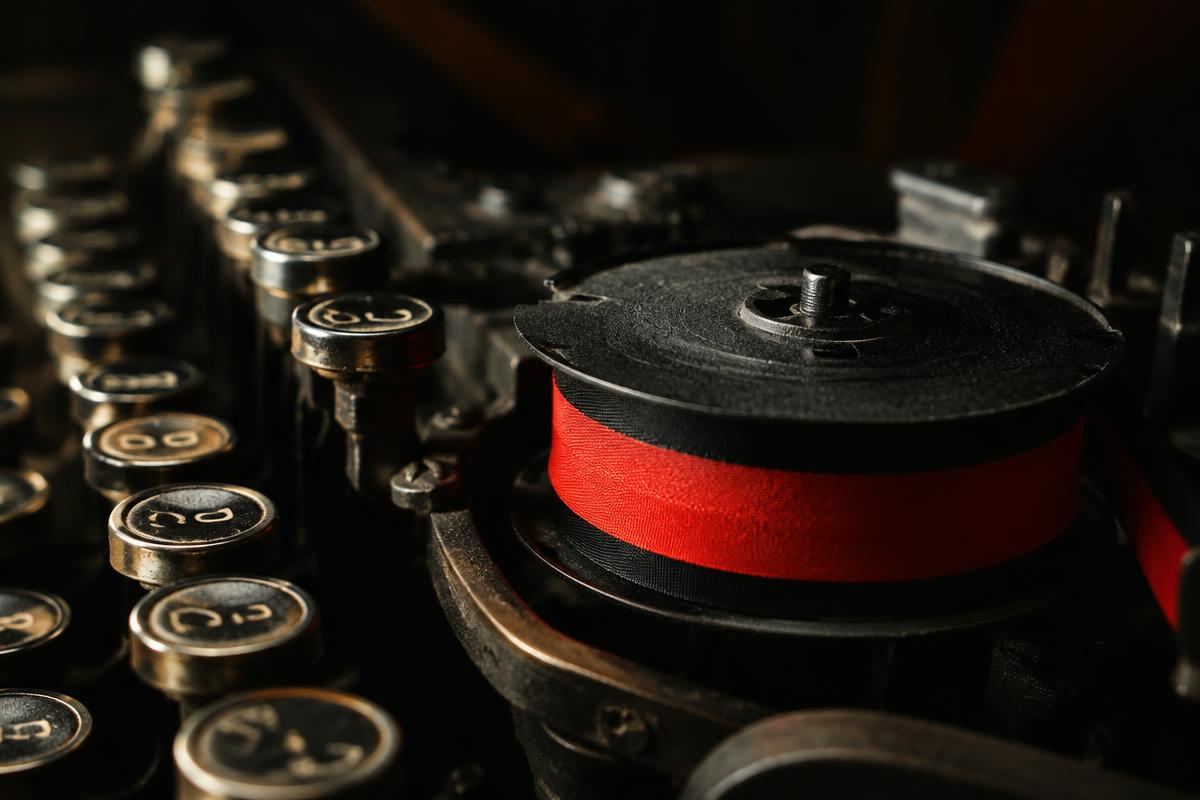
1. Identify your spool type
Look at the existing spools. Most machines use a universal 1/2-inch ribbon on plastic or metal spools, but some brands use proprietary spools that must be reused.
2. Lift the ribbon cover
Remove or open the cover over the spools. On many portables it lifts off; on standards it may hinge or slide.
3. Note the ribbon path
Take a photo before removing anything. The ribbon threads through the vibrator (the small fork in front of the platen) and past reversing eyelets on both sides.
4. Remove the old spools
Press the spool release if present and lift both spools out. Wind the old ribbon fully onto one spool for easy disposal.
5. Install the new ribbon
Seat the full spool on the side that feeds, thread through the vibrator matching your photo, and seat the empty spool. Make sure reversing eyelets sit outside the sensing arms.
6. Test
Type a line. If the ribbon does not advance or the print is on the wrong color band, check the color selector and the spool seating.
If your ribbon will not advance after a correct installation, the spool drive or reverse mechanism needs service. We are happy to install ribbons at the shop and show you the process. Related service: Cleaning and Servicing.